
Step One: Create Your Artwork
Here's just one example of a piece of artwork we created using a Photoshop specialty brush. You can use any line art at all that you can create on your computer. The only requirement is that the picture use only 100% black color. No shading or other colors (you'll add that stuff in later with paint, if you want).
Step Two: Print To A Transparency
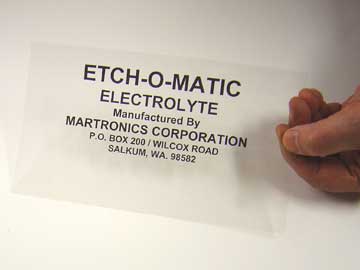
Whatever your artwork or text, just print it on to a transparency with your regular old printer. If your printer lets you set the print quality, set it to Best Quality, and More Ink. If your printer doesn't let you set those things, then don't worry about it.
Step Three: Expose Transparency Using UV Stencil Maker
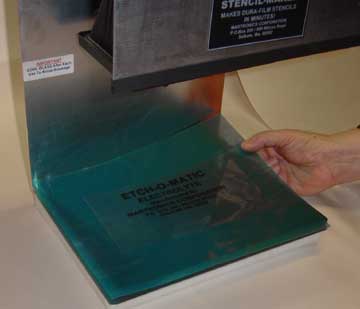
Place the transparency over the top of the blue-green stencil material. Place it in the Stencil Maker, cover it with the glass plate, and expose it for 2 minutes.
Step Four: Peel The Backing

The stencil has a thin clear backing on BOTH SIDES. You'll need to remove both pieces in order for the developer to work. Simply separate the clear backing from the blue stencil at a corner, and peel it apart.
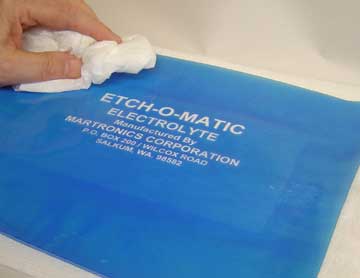
Step Five: Develop The Stencil
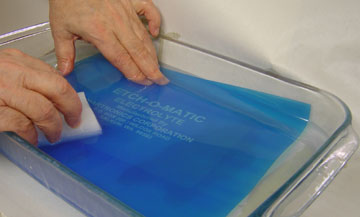
Place the stencil in a pan of developer. The container needs to be wide enough that you can fit the whole stencil under the developer liquid at once. Use a sponge to gently wipe away the unexposed parts of the stencil. This will be the part that will etch. As the stencil develops, you will see the light parts getting even lighter, and you will be able to feel the light parts get slightly rough. When all of your design feels rough and looks evenly light, take the stencil out of the developer and hold it up to the light. If you can see any dark spots, place in developer and sponge a bit more.
Step Six: Wash And Dry The Stencil
Once the stencil is completely developed, wash all of the developer fluid off of the stencil under running water. Use a paper towel to dry the stencil. If you're going to use the stencil right away, you might want to use a blowdryer to get the stencil completely dry.
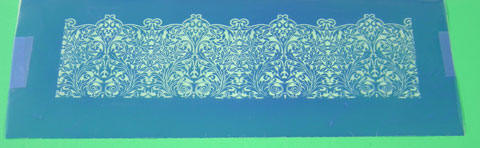
Step Seven: Enjoy Your Stencil!
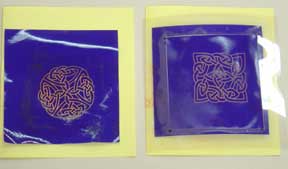
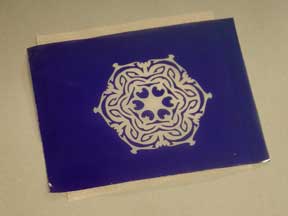
Heres a couple examples of stencils we've made recently. Soon to follow are instructions for the projects where we actually used those stencils, and lots more!
